I am an electrical engineer. I am hesitant about saying this, because finding out I’m actually an electrical engineer is like Luke Skywalker finding out that Darth Vader is his father – it’s probably true, but it’s a major twist in the story and to be honest there isn’t much by way of evidence to support the theory.
Never the less, it’s true.
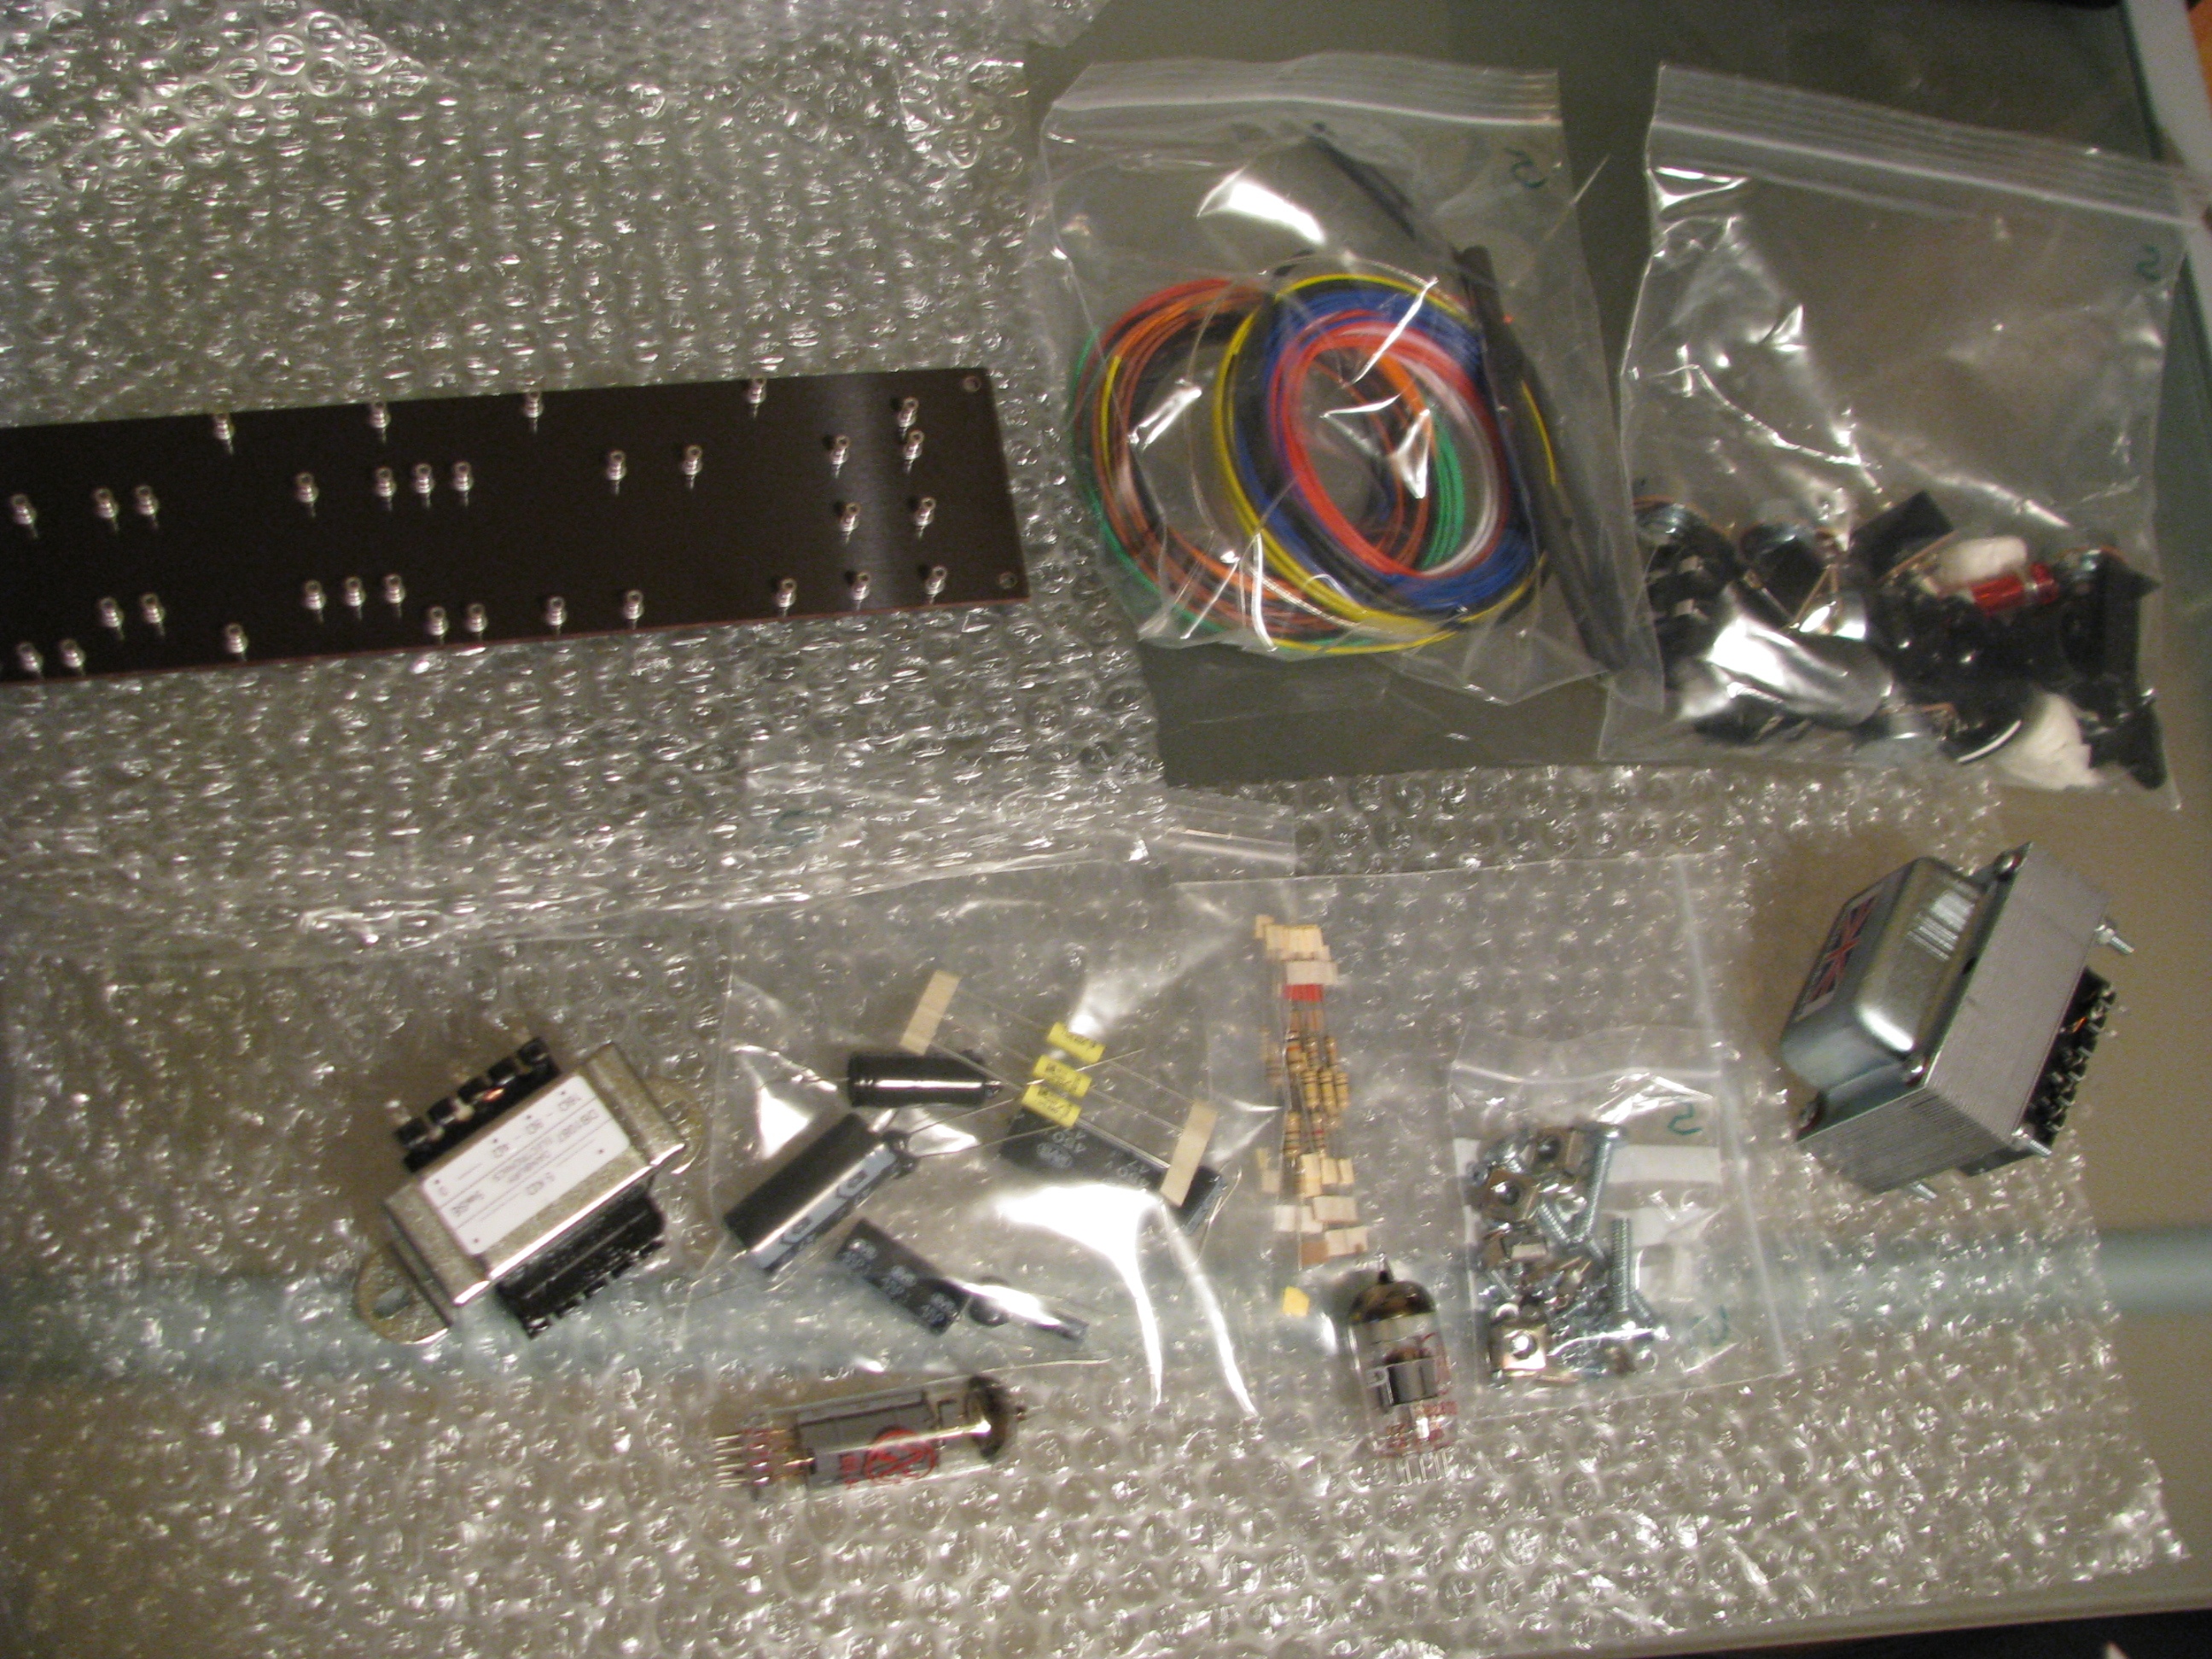
So, in celebration of my birthday, my family clubbed in to buy me a bucket load of resistors, capacitors, connectors, jacks, valve sockets and valves, all of which should set me up to building my own hand-made all-valve 5 watt single ended class A guitar amp. Said procurement was done through the helpful people (well, Barry) at www.ampmaker.com, and within a few days I had in my grubby paws all the components I needed, plus a pre-punched chassis and a circuit diagram.
I refer you to exhibit A:
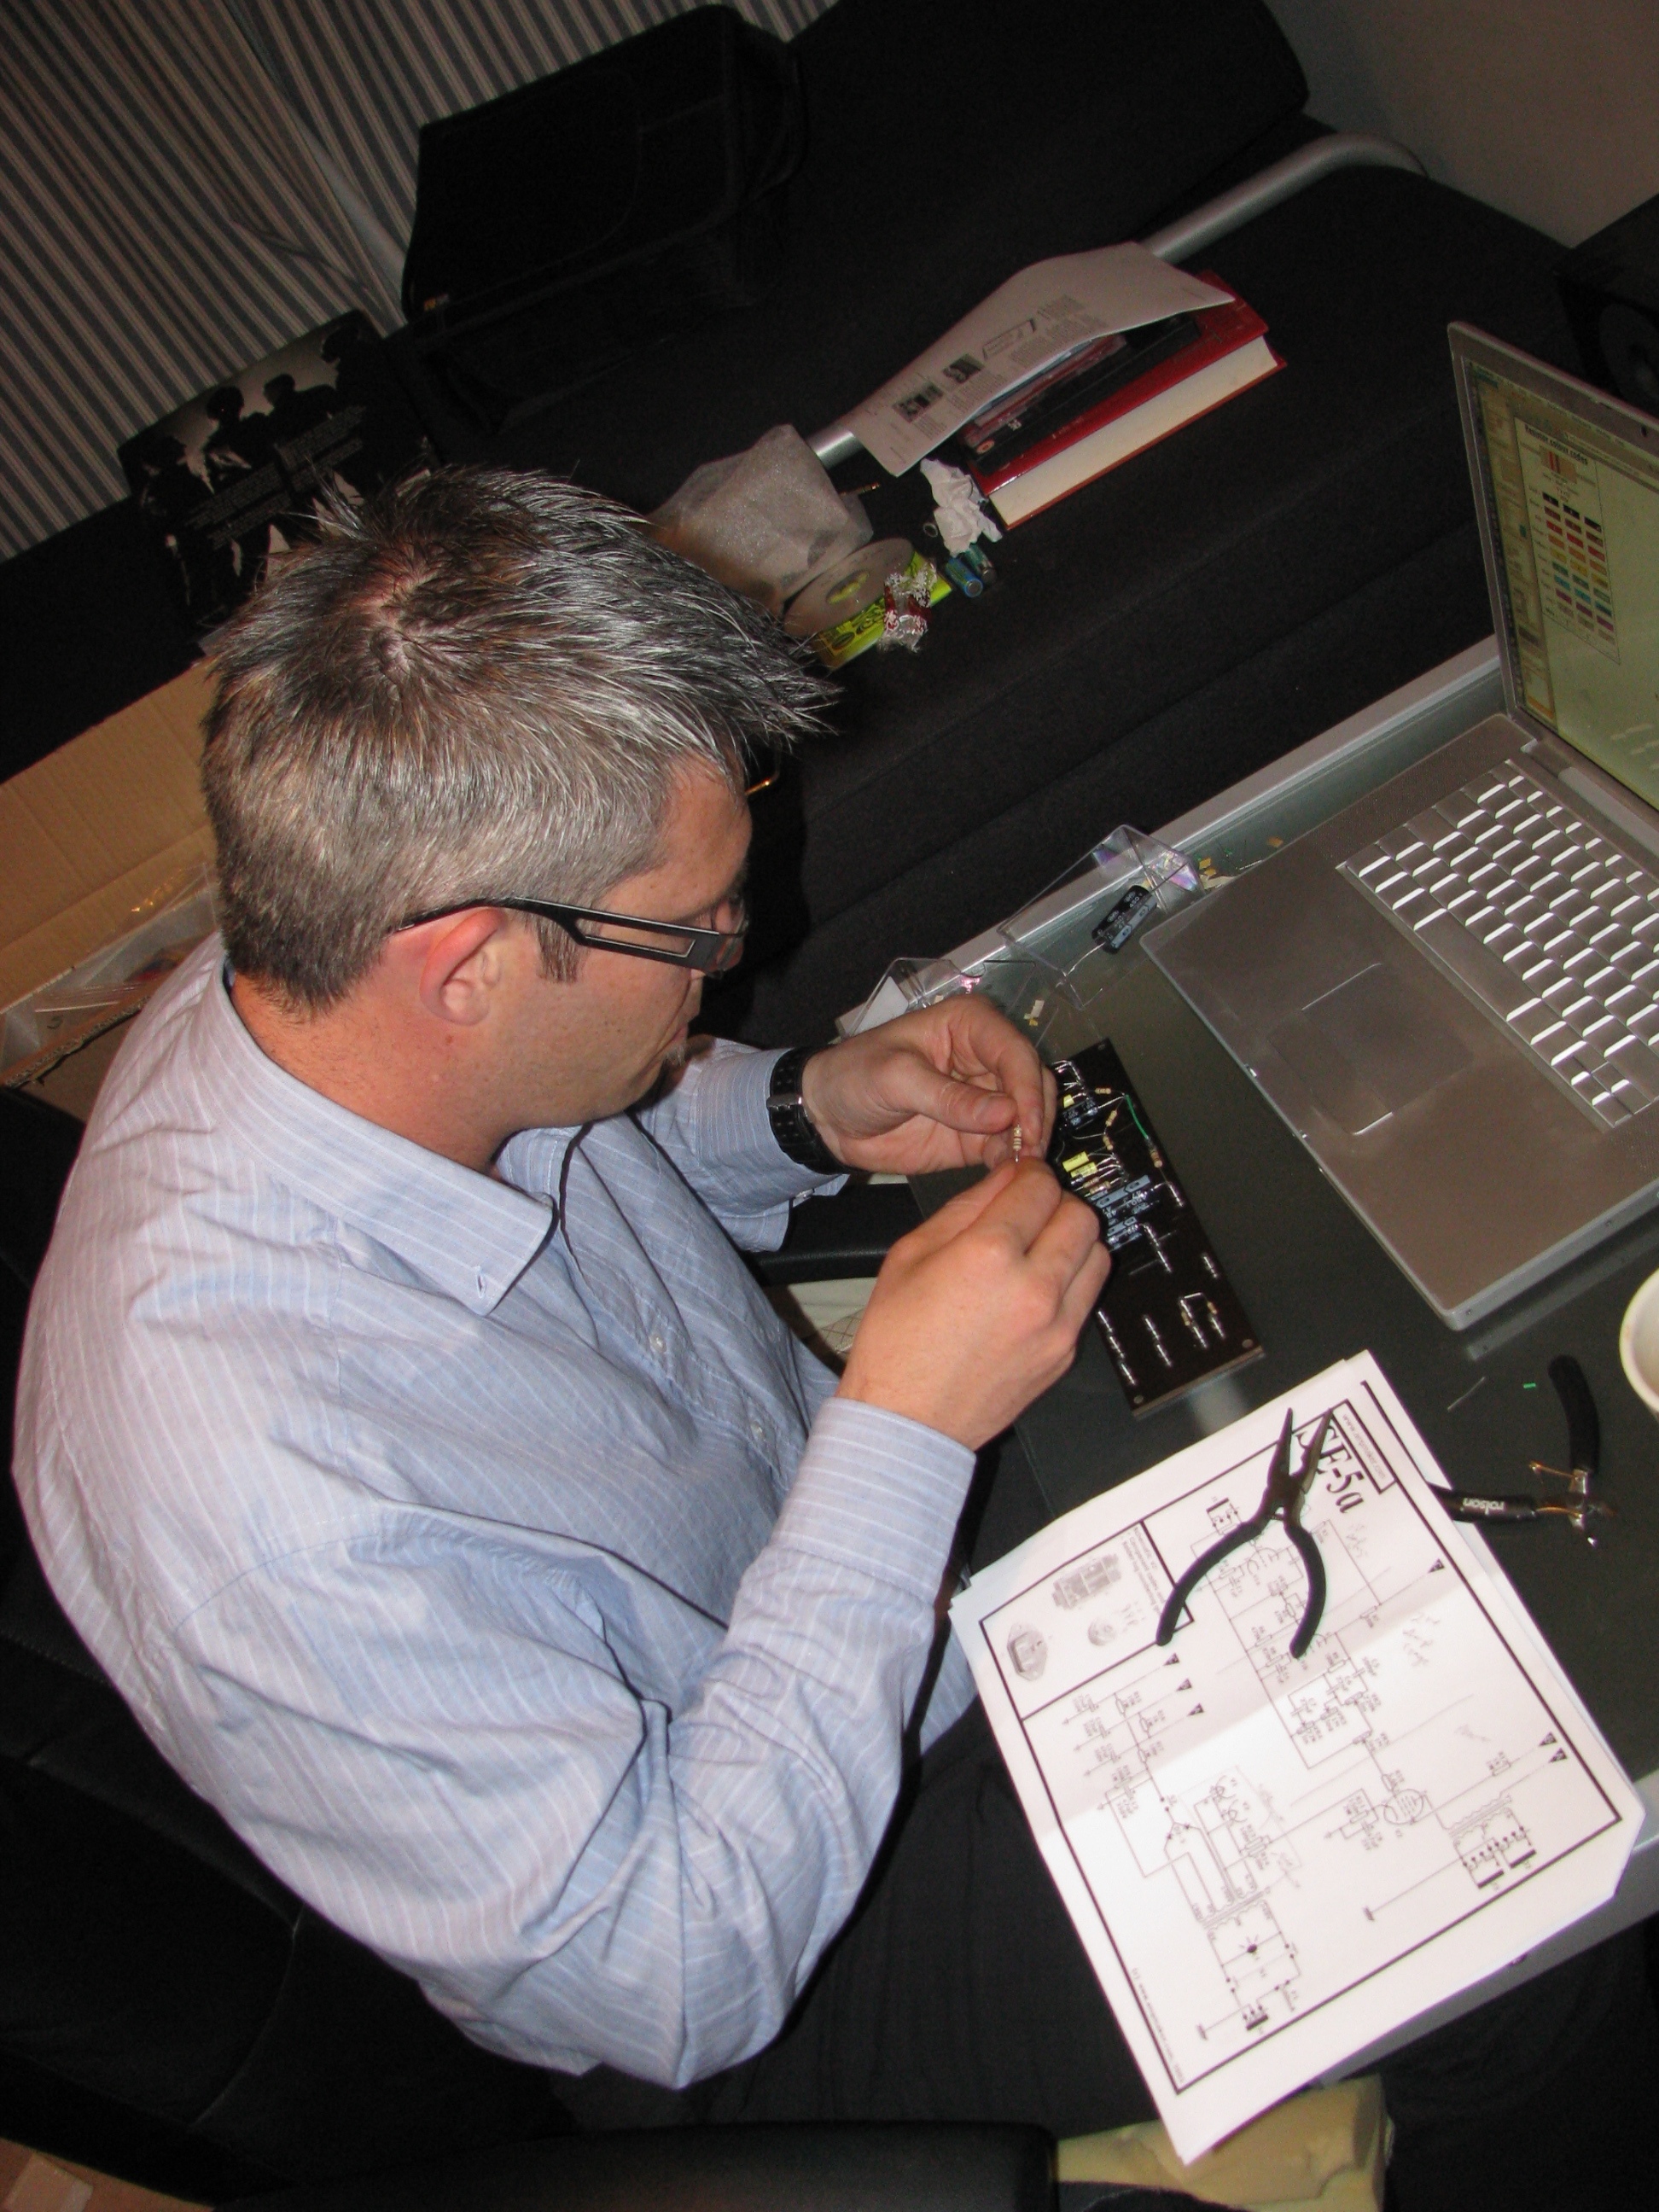
 What I really liked about this kit was that it wasn’t just Lego level 7 – you really had to follow the schematic.
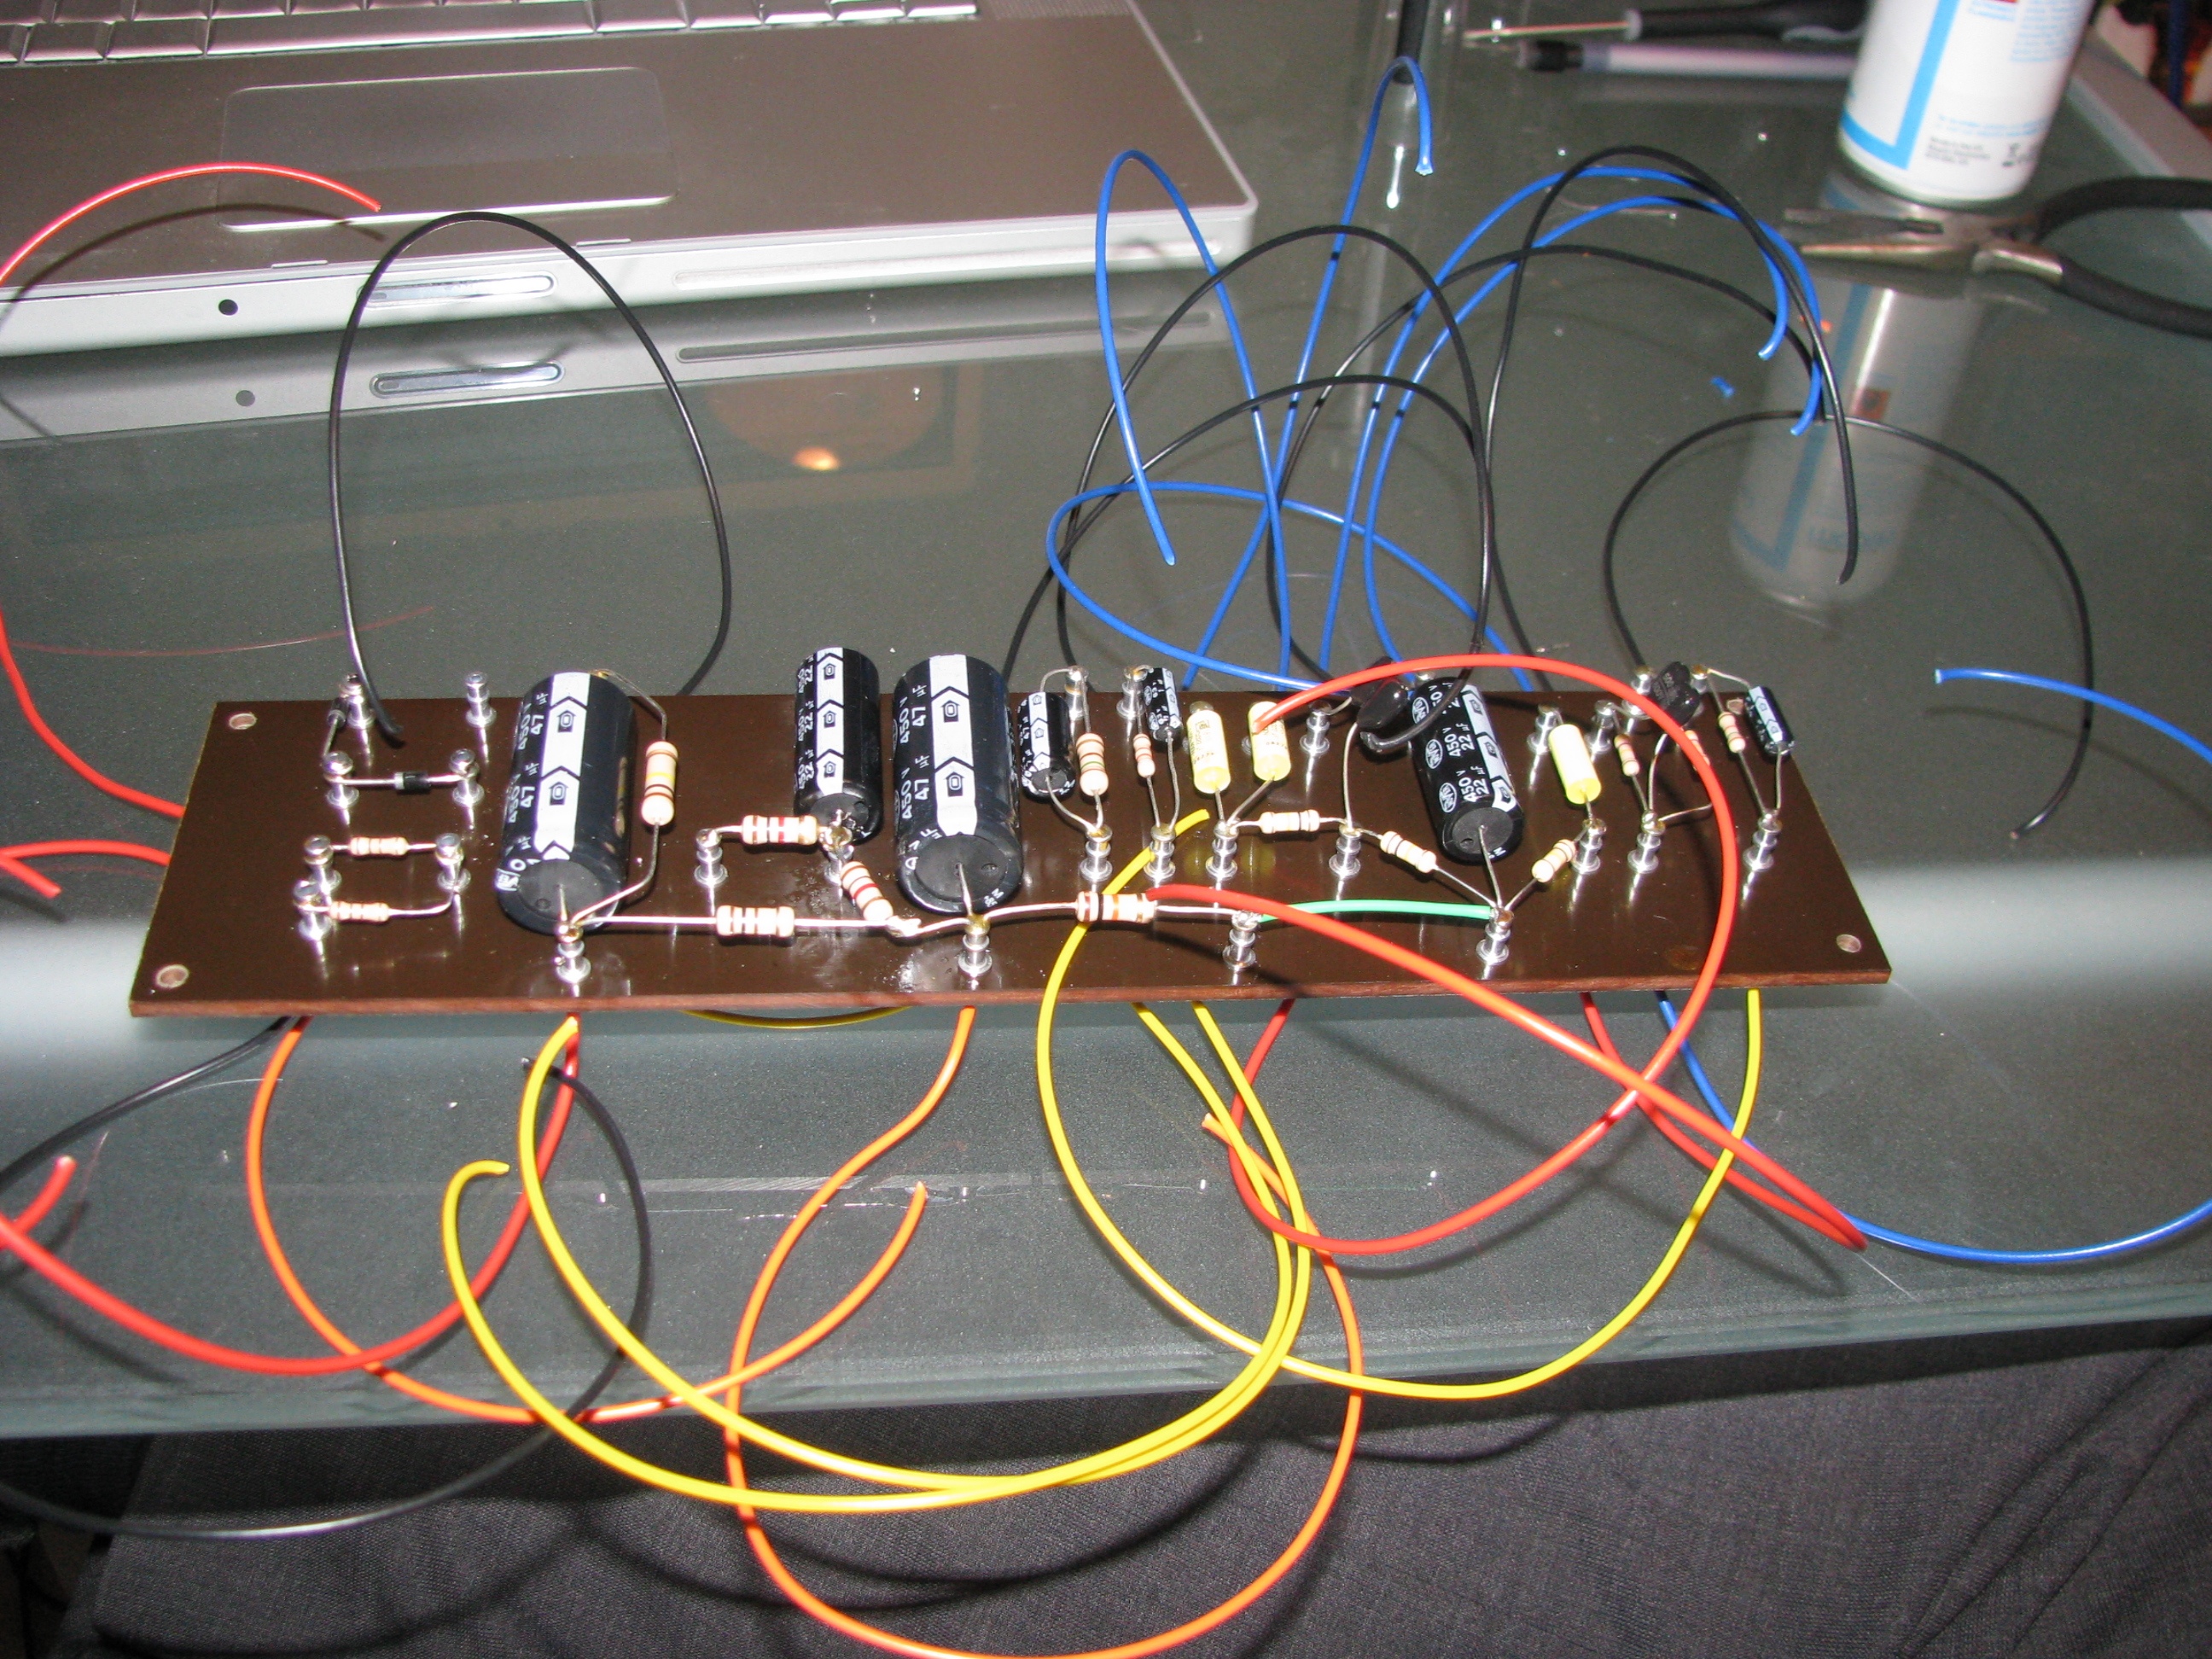
Step 1 was to lay all the components out onto the turret board. This at least was fairly simple since there were examples to follow, but i had to remember how to solder…
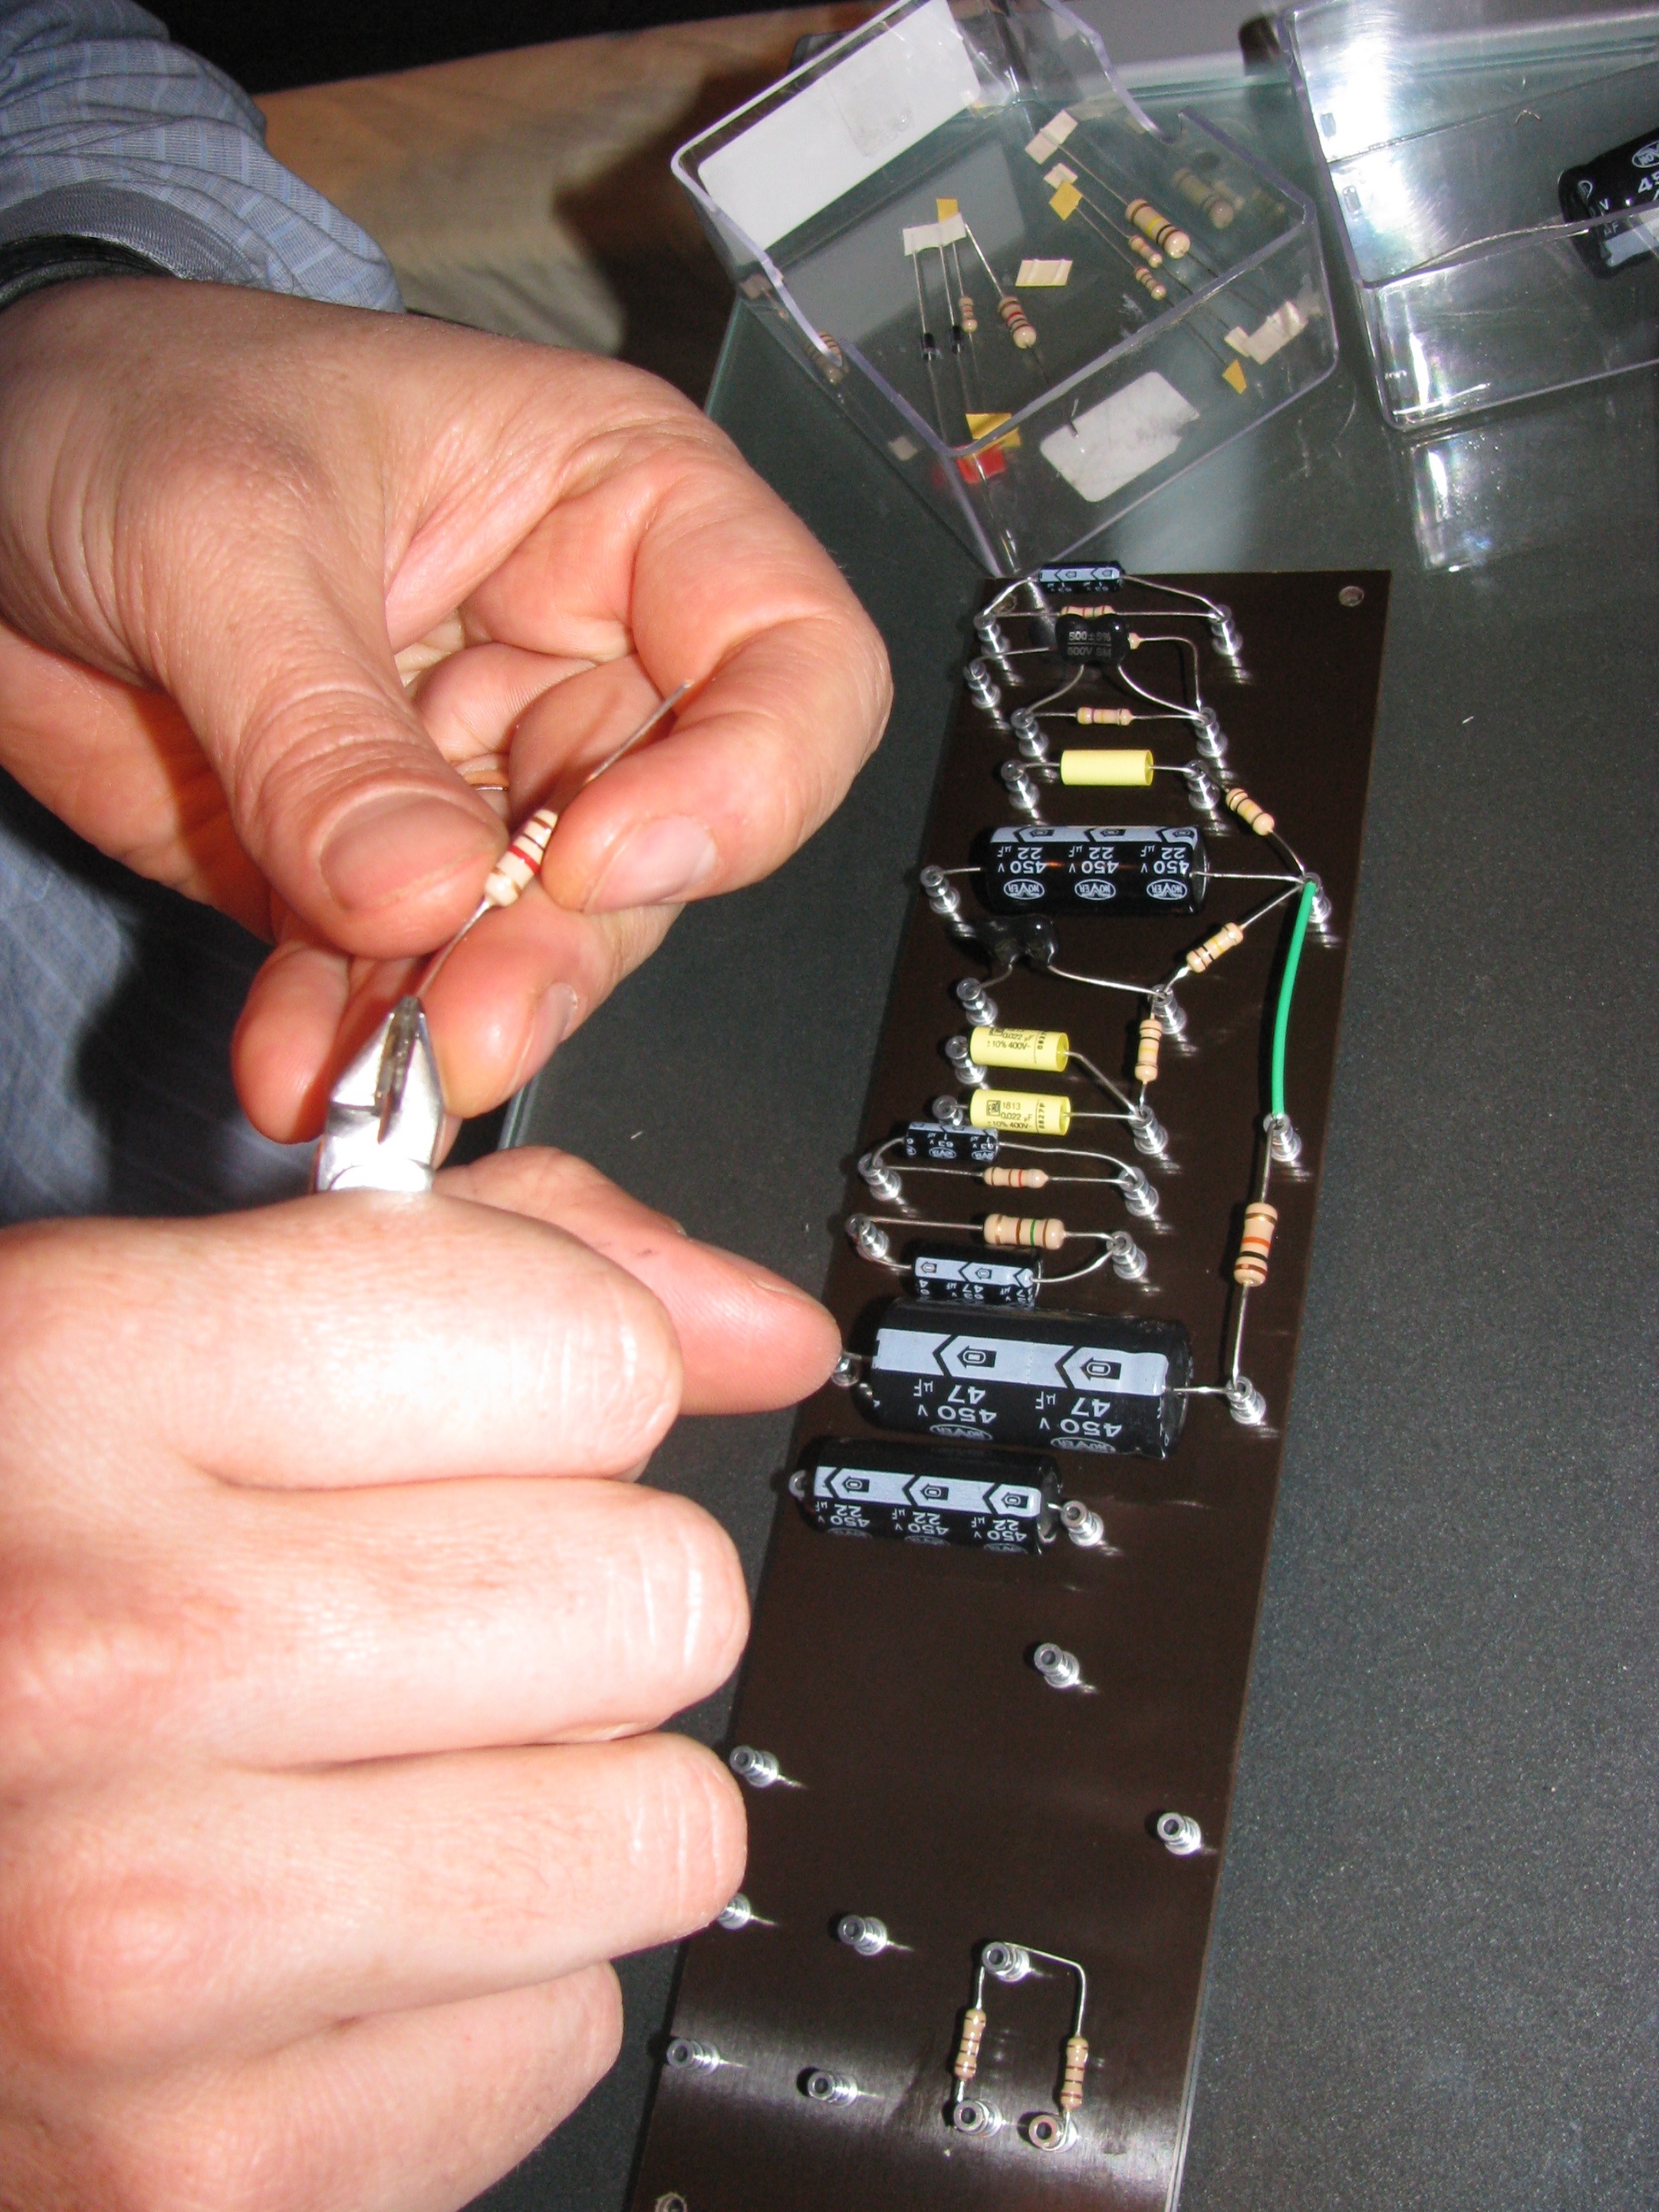
 Here’s the final result of the soldered turret board:
 The next step was to put the chassis together, attach the face plates and lay the amp out how it’s going to look when finished. Here’s the turret board in the chassis:
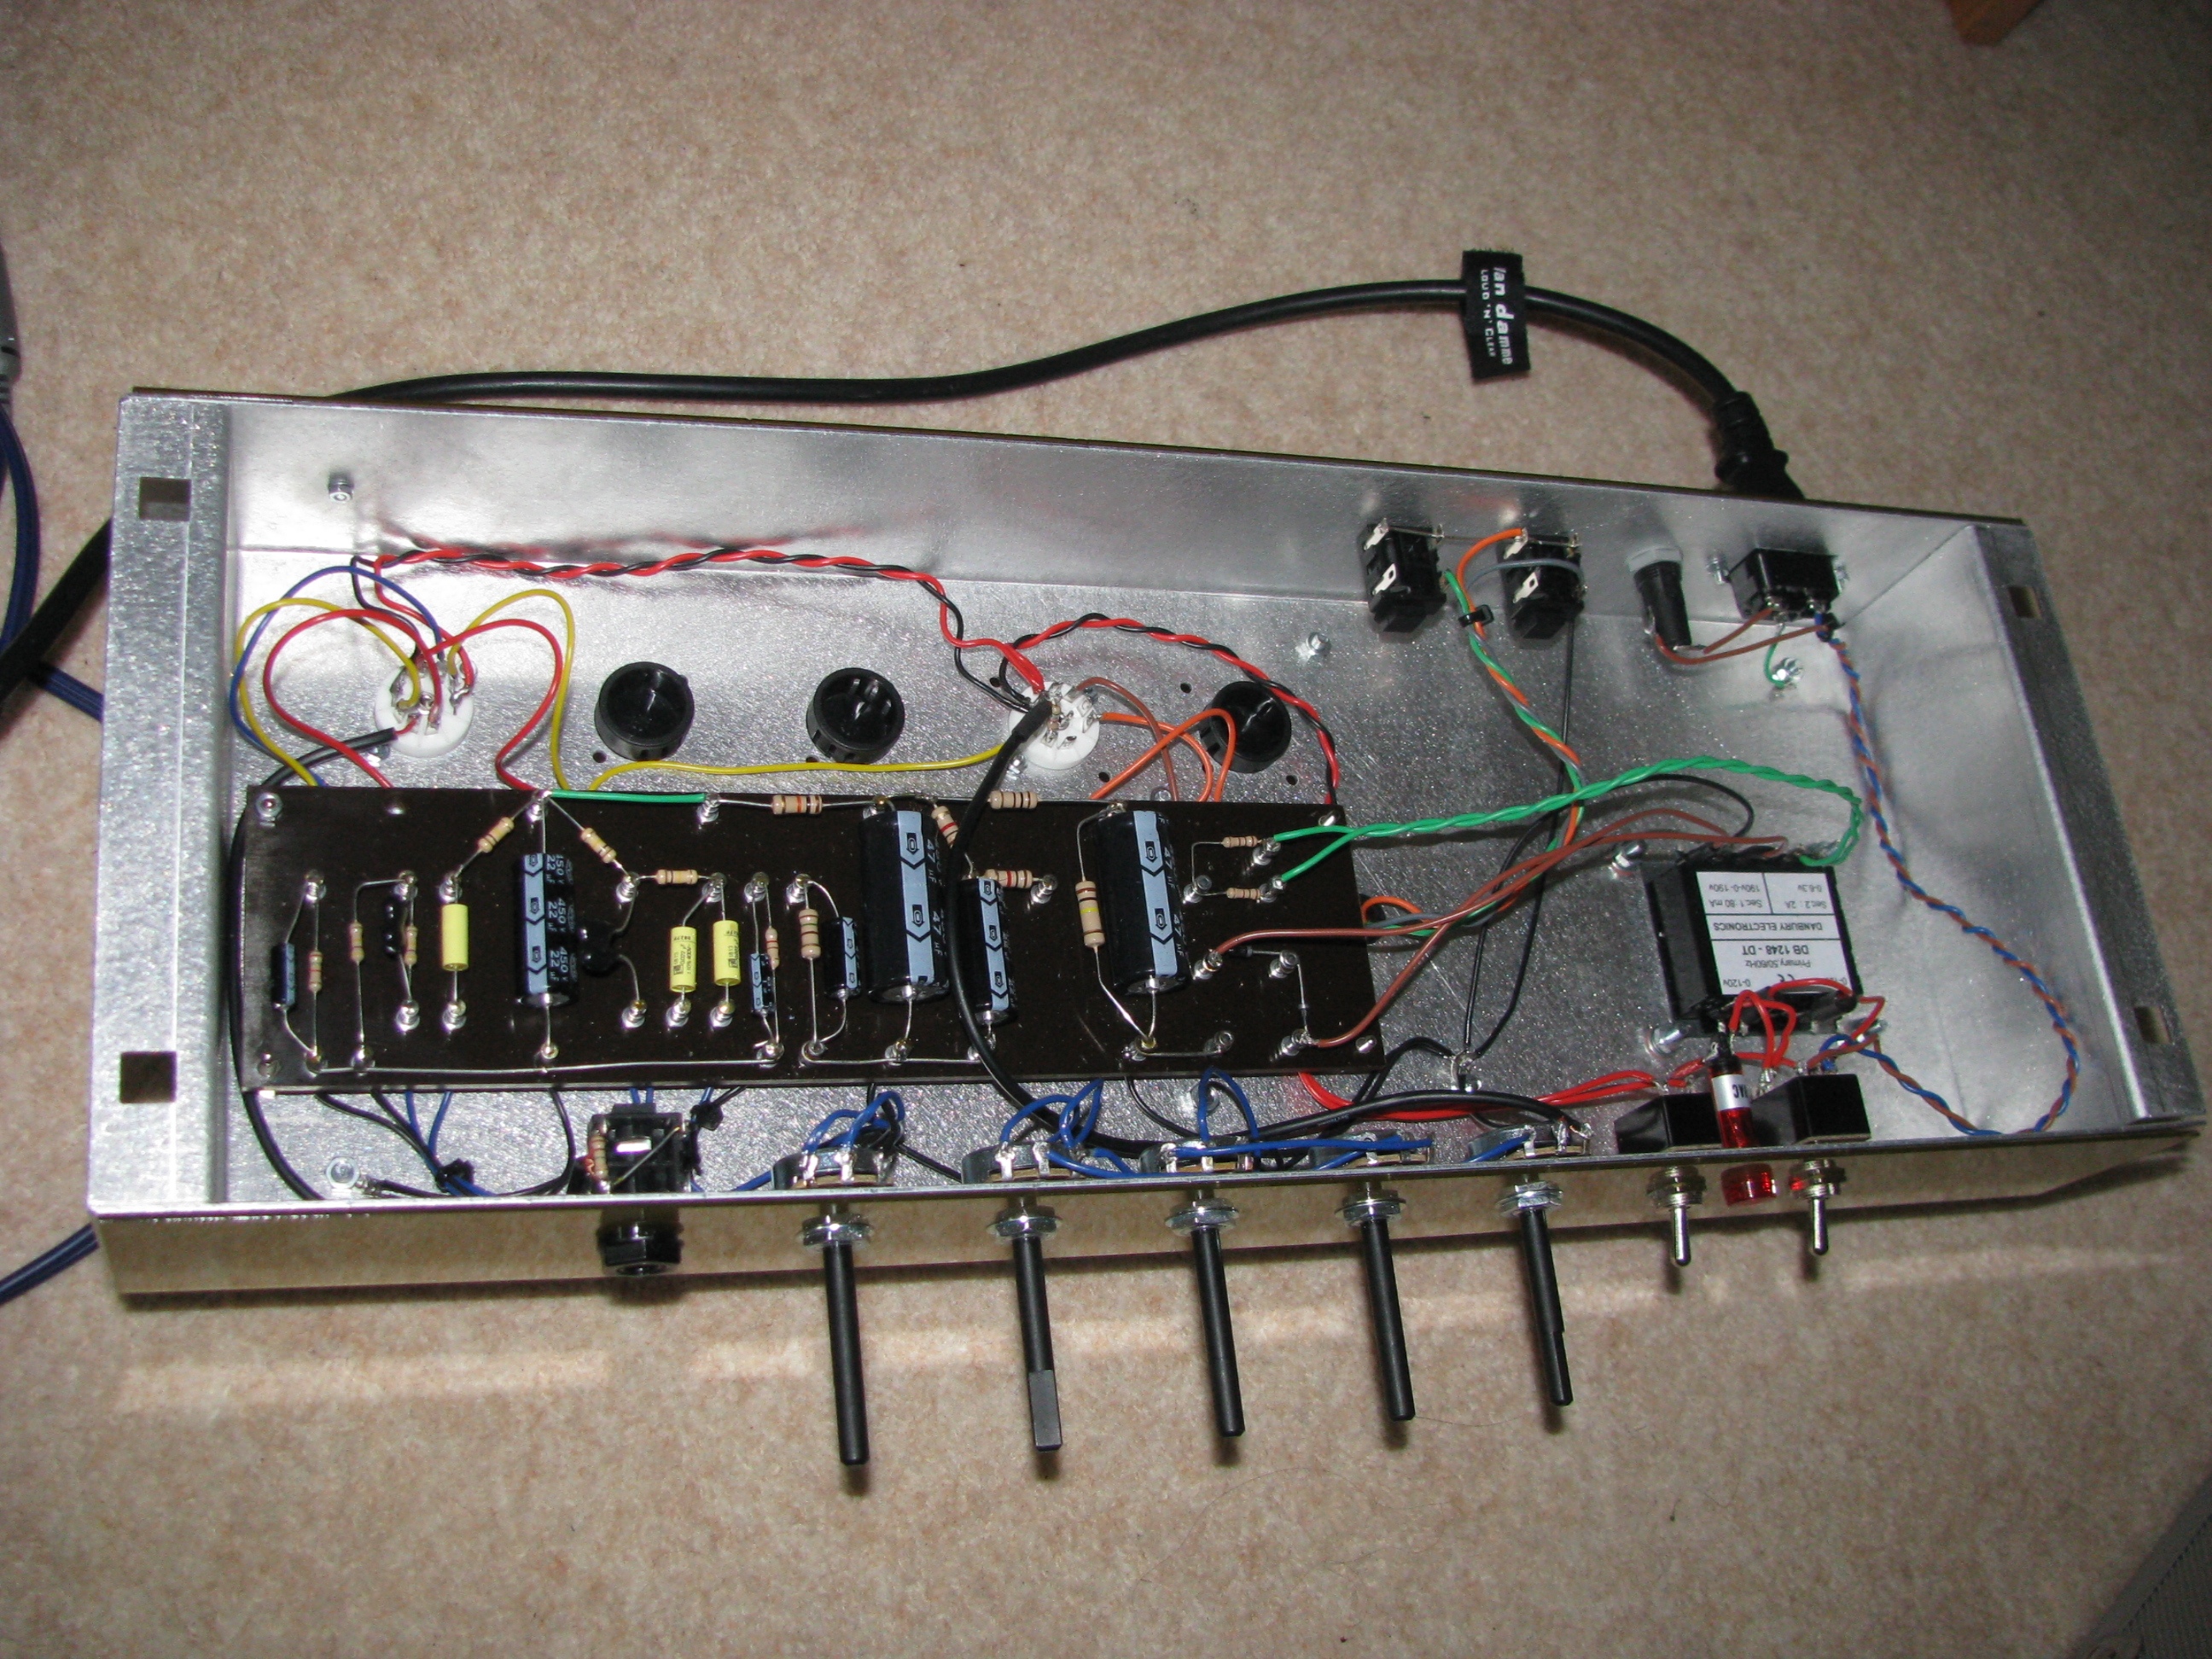
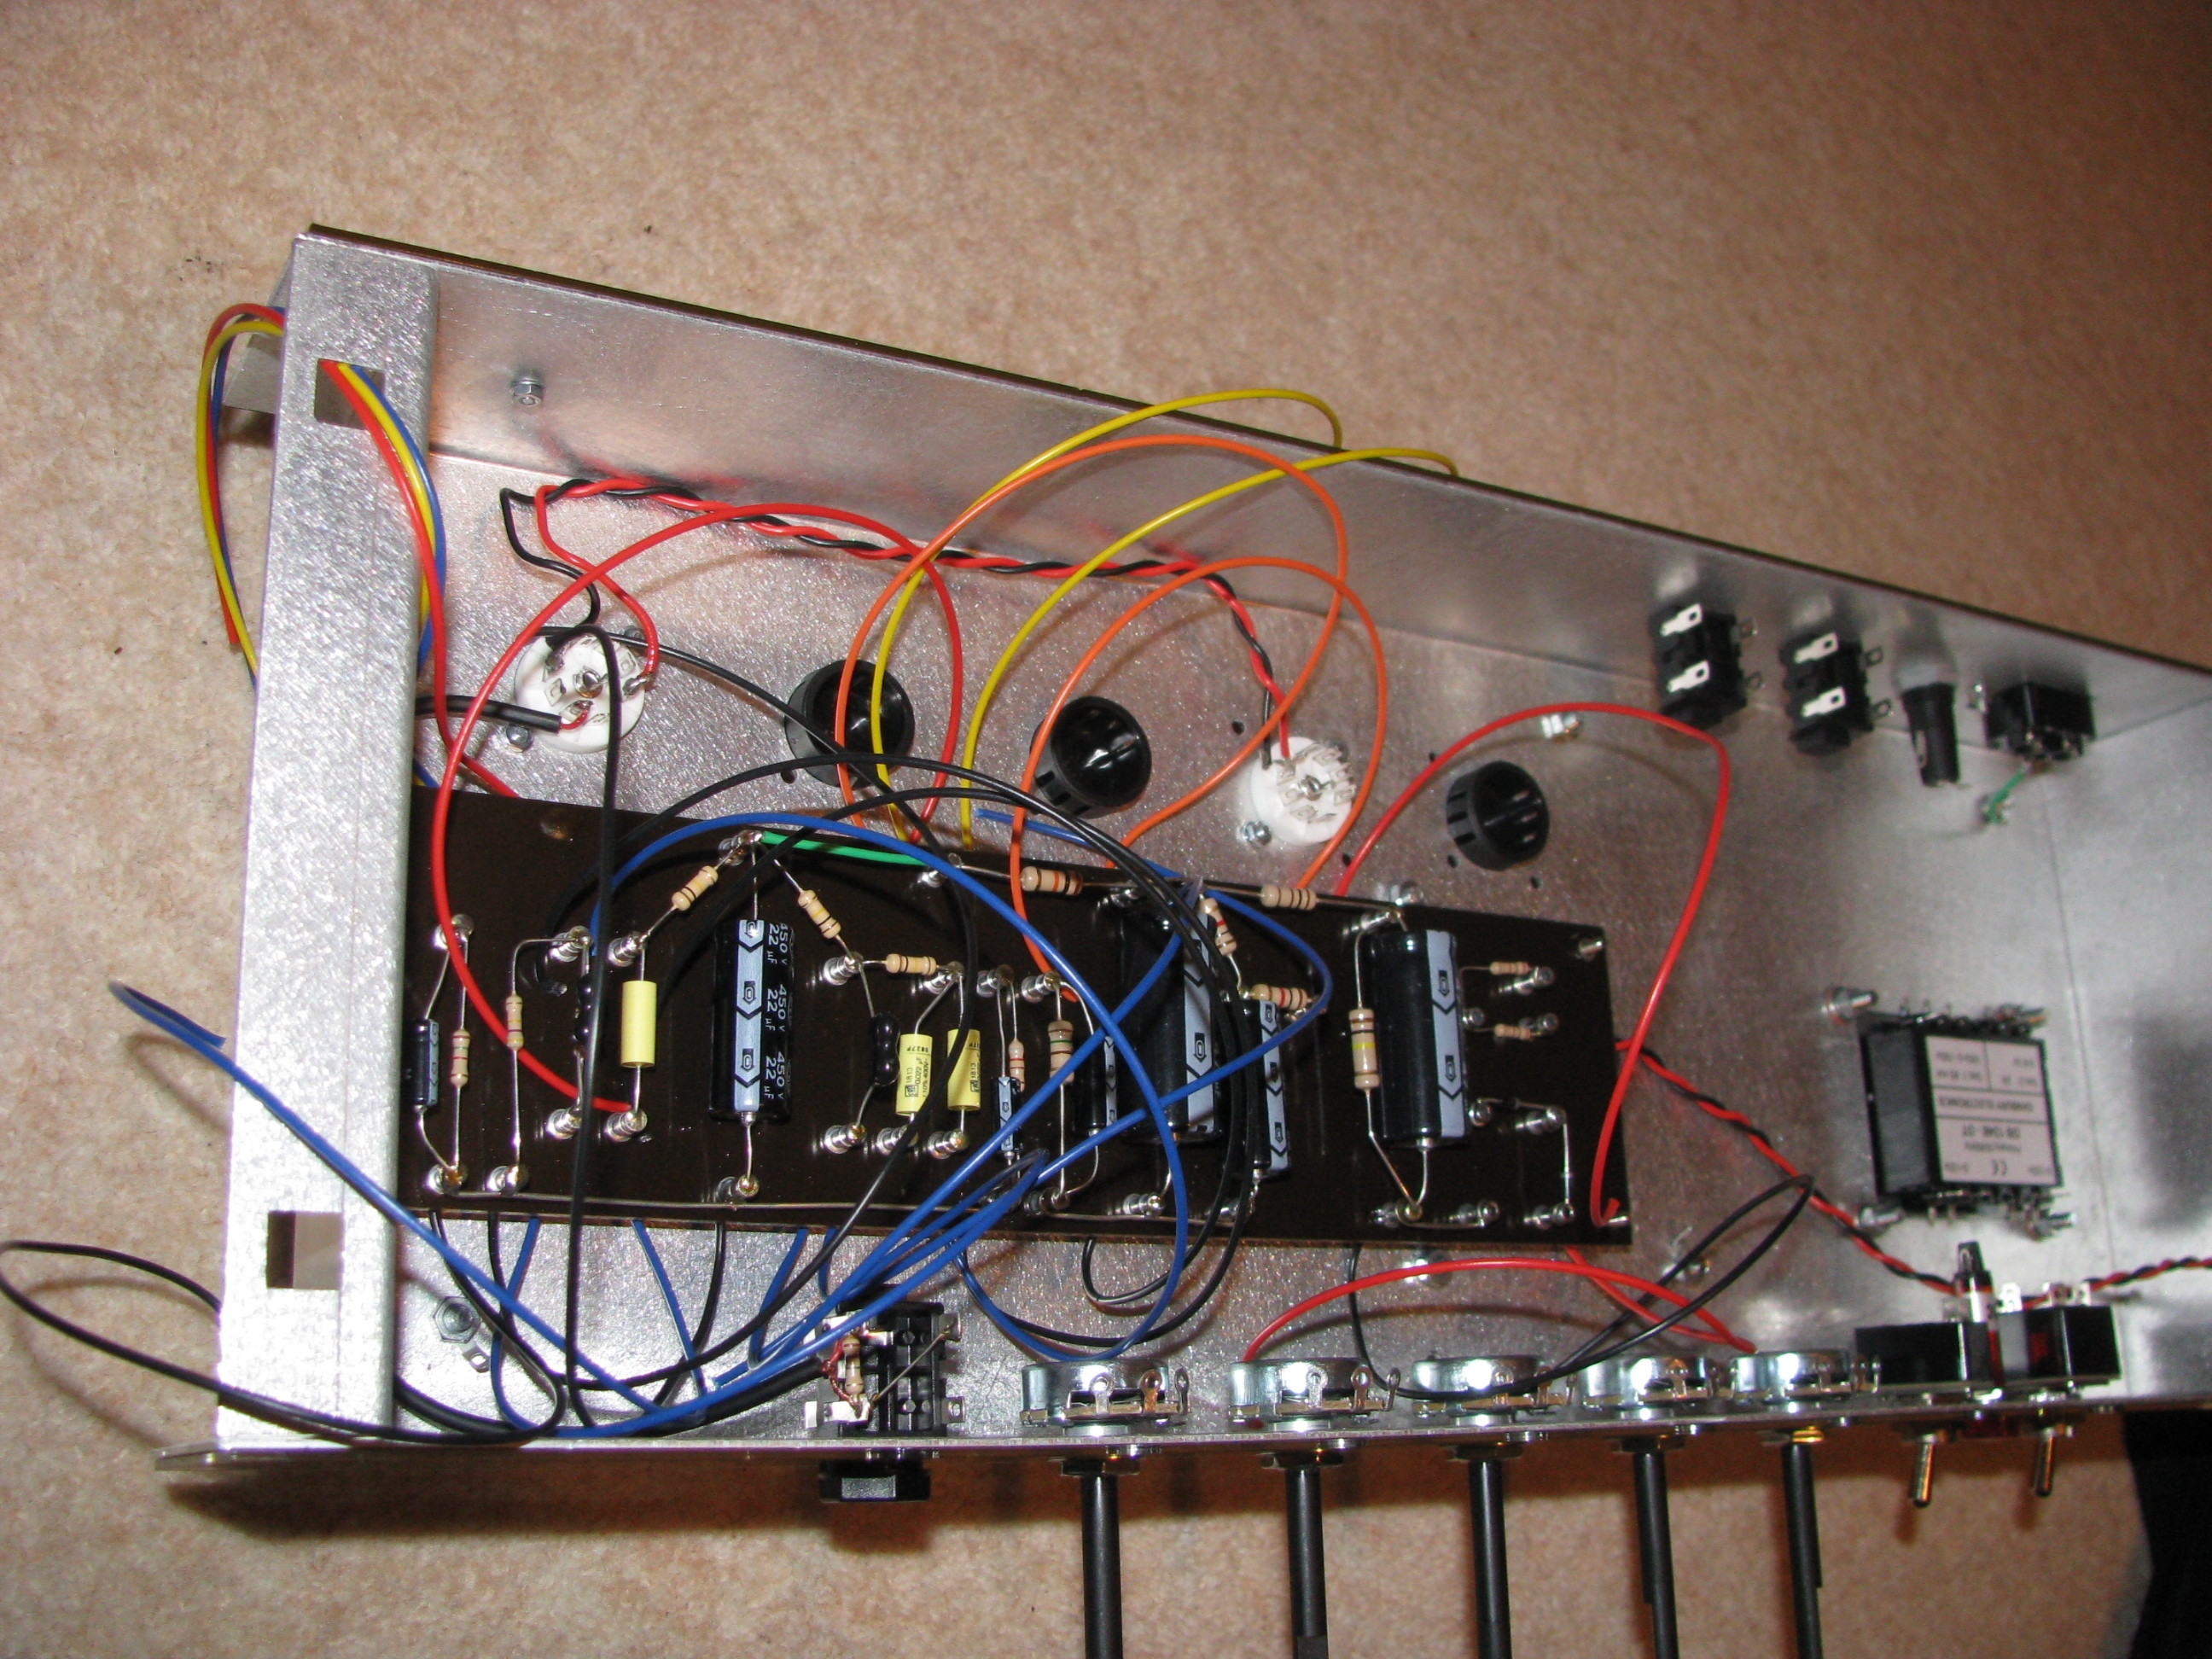 The next step was to take all those leads and do something useful with them. This actually took the longest because I had to sit with my voltmeter, the schematic and the turret board layout to try figure out what needed to be connected up. Here’s the final innards (you can see I’ve just connected the power cable for the first time to run some tests)
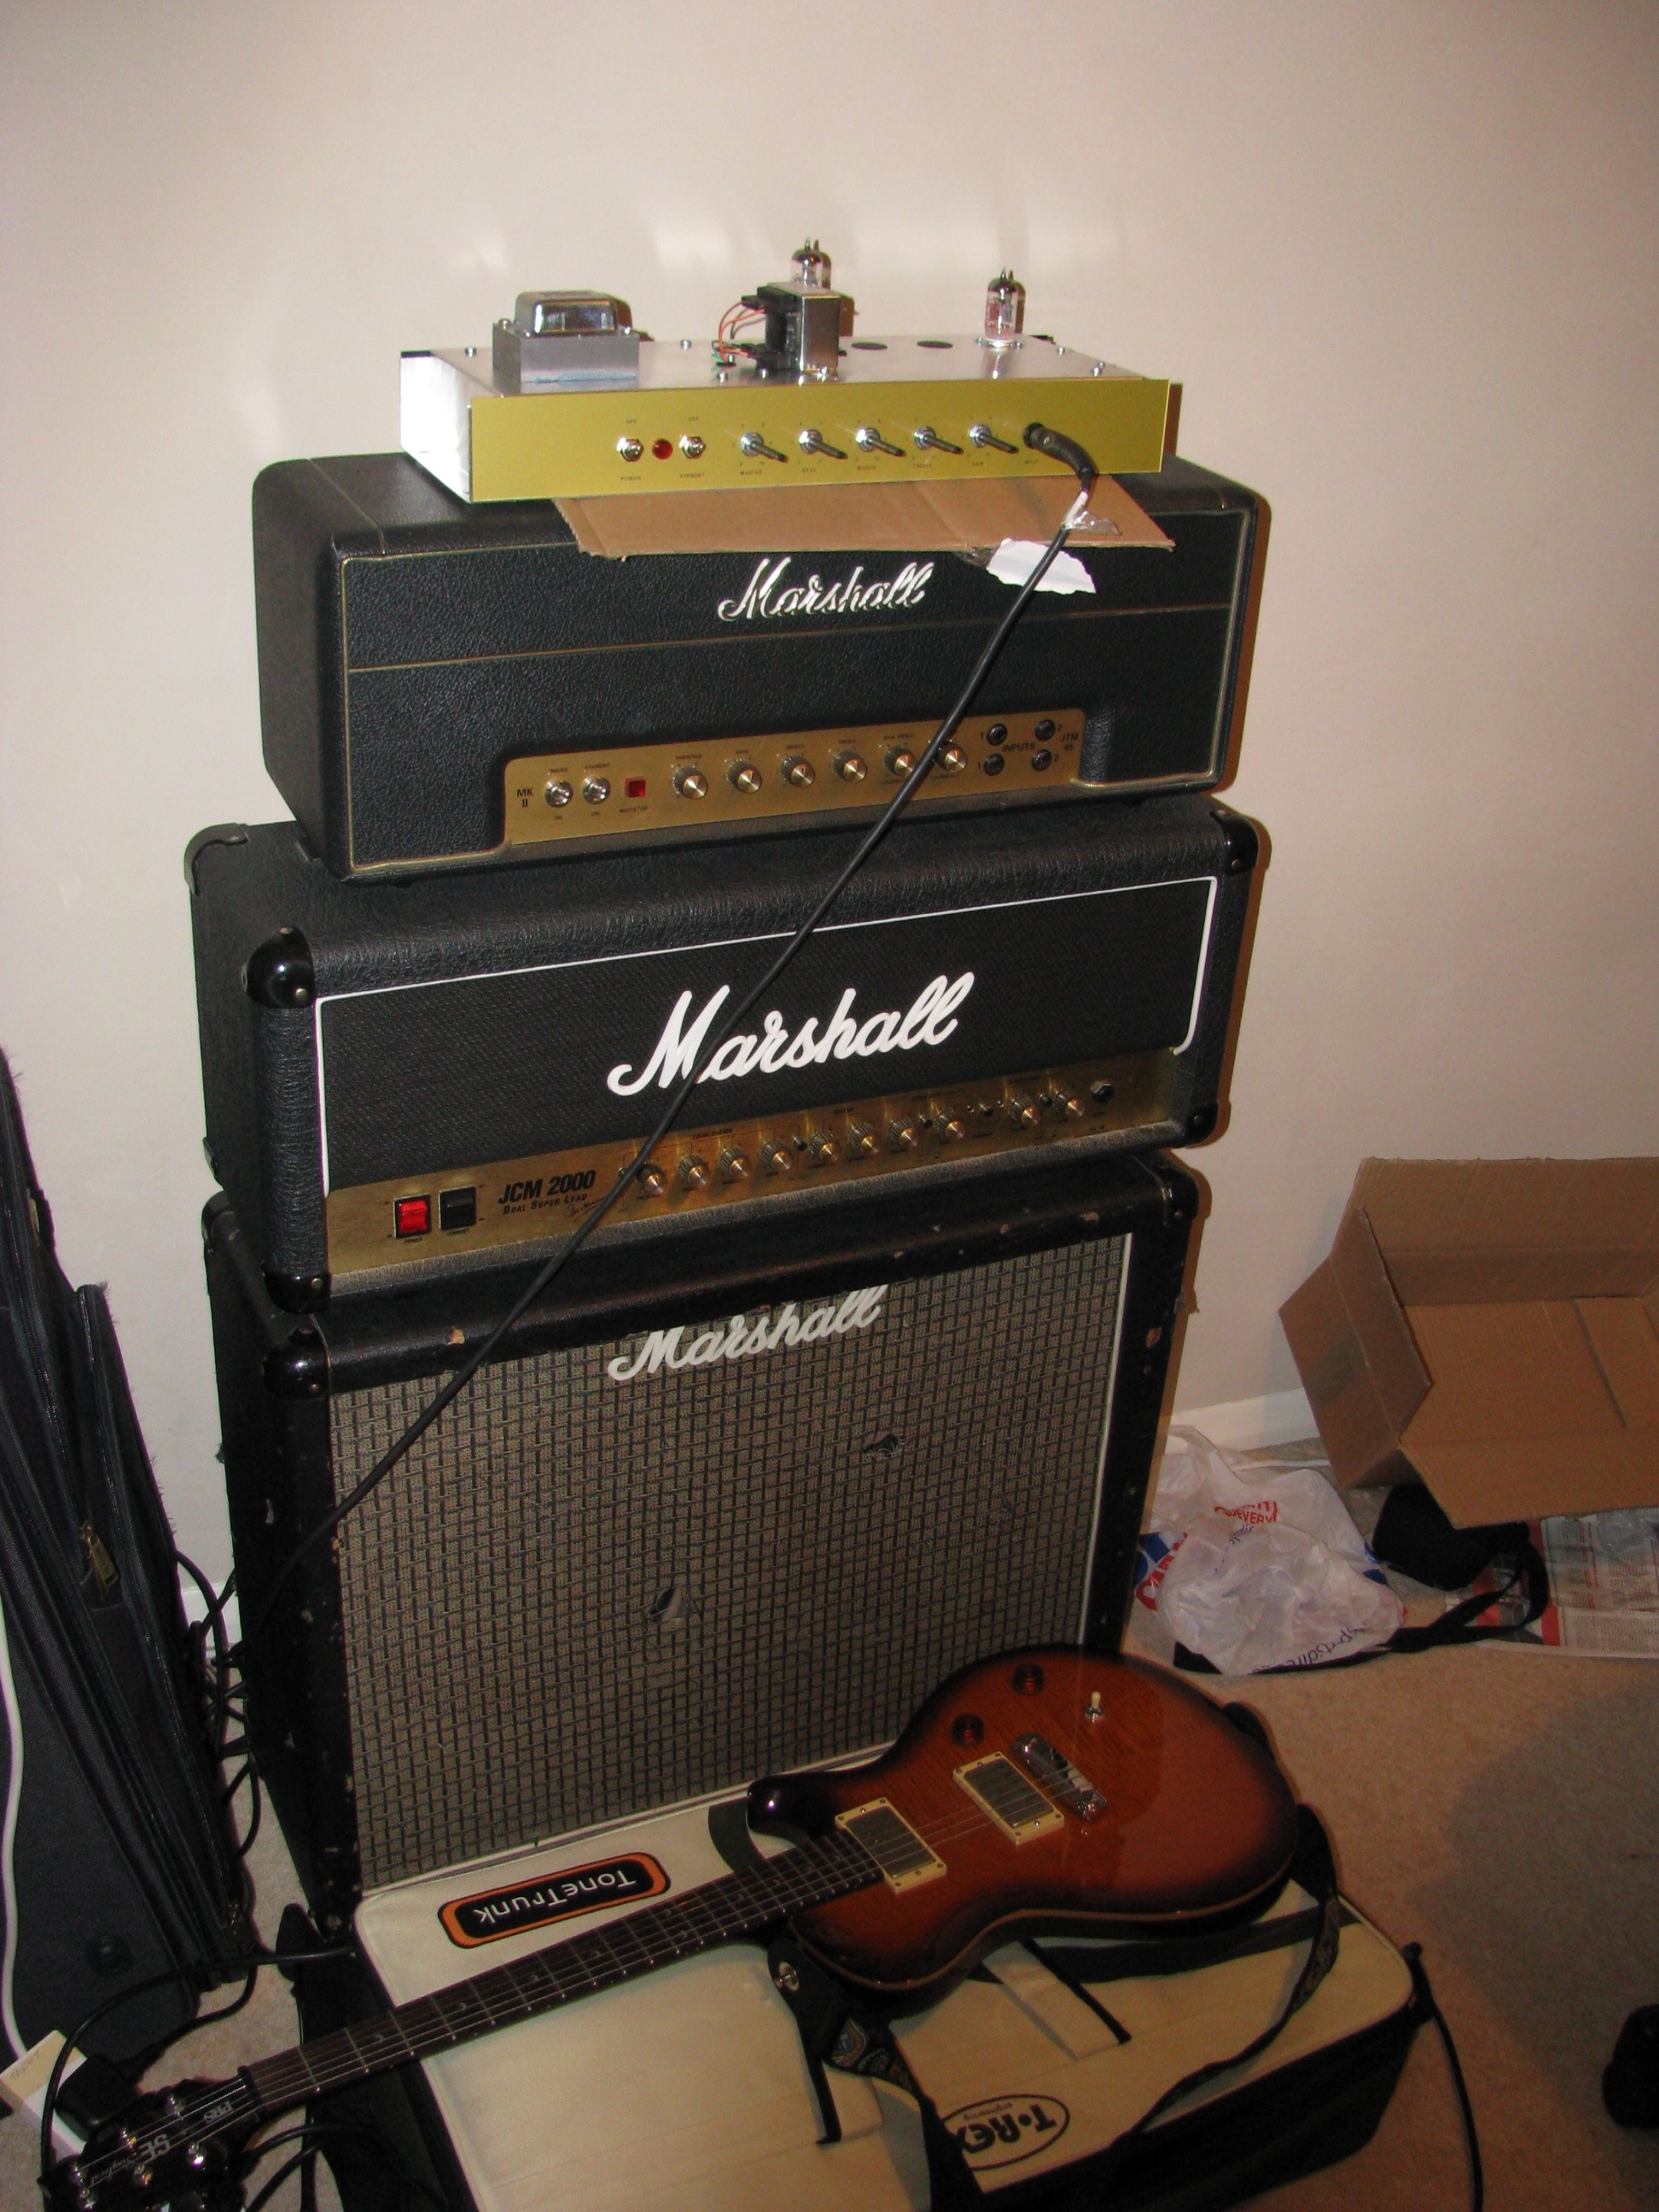
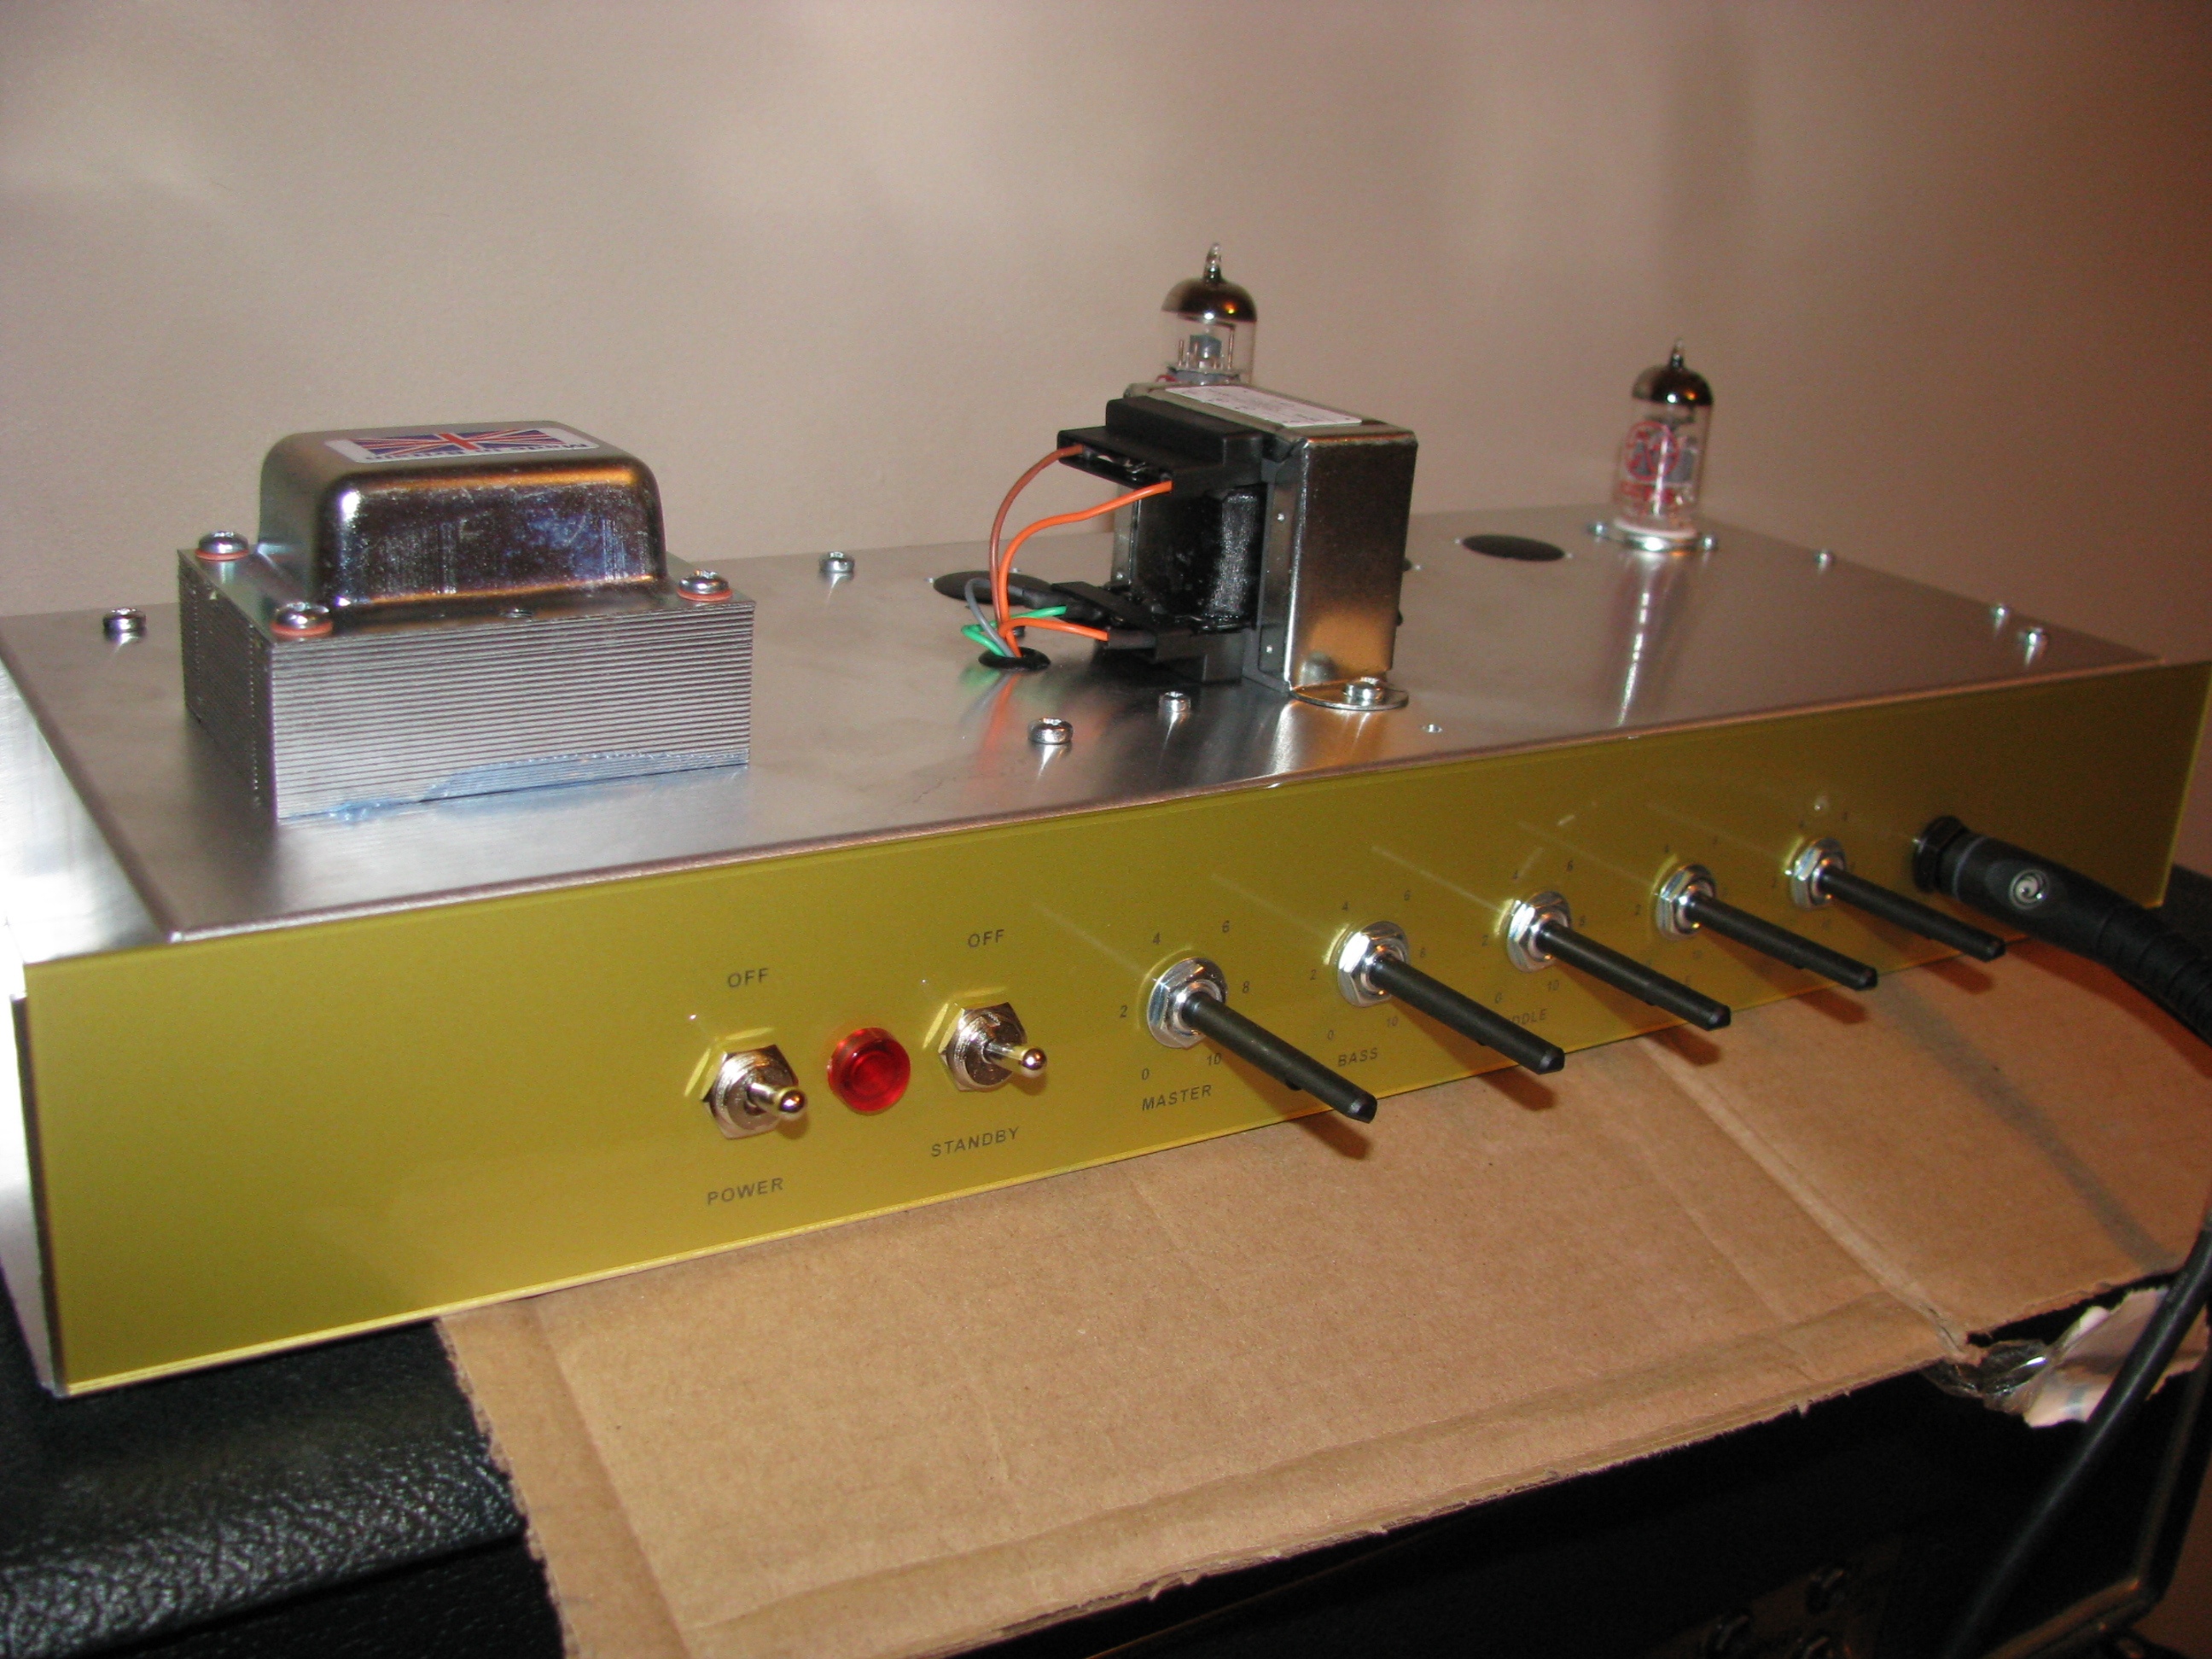
 Finally, I put the valves in and ran the final tests. The only issue I have at the moment is that the EL84 plate dissipation is a touch too low (currently 8.9W when it’s supposed to be between 9 and 11 W) which means I’m not getting the most out of the output valve, but I’ll fiddle with some components to get this sorted out. Here’s the ‘finished’ product…
 …and then there was the all-important first test! I got Caryn to film the first sound test… (yes, she filmed it sideways, but if you don’t like that then just be patient because it kind of rotates a bit. It’s artistic…)
And finally, my new amp (she’s been named Long Grass No 1) along with her bigger (and much louder) brothers…